Pages

Sunday, April 28, 2013

Nice weekend plein air painting

Becker Lavender Farm

"Becker Lavender Farms".
By Debra Latham
8x10
Oil on Gallery wrap Canvas
I painted at the Becker Vineyard at their Lavender Festival. This weekend. Great turn out.


Wednesday, May 2, 2012

Country Coop by Debra Latham

Country Coop oil 12x12

This is a chicken Coop I came across on a back road in Marble Falls that was begging to be painted.
Debra@debralatham.com
Debralatham.com

Friday, April 27, 2012

Placed 4th & Sold at Marble Falls Paint the Town "Did You Get the Message?" by Debra Latham


"Did You Get the Message?"

9x12x1.5" oil on wood boxed panel

This was a row of mailboxes I came across on an old Marble Falls country Rd.  I passed by them twice before I stooped to take pictures of them.  Every time I passed by they were calling my name I finally stopped on the third pass.  
SOLD

Tuesday, March 29, 2011

Good Oil Days in Humble

I'll be at the Red Palette Art Center this Saturday for the Good Oil Days in Old Town Humble, TX

We will be open from 10-5pm.  

I have lots of new prints available of some of my latest work as well as originals.  

Come and See me and enjoy the festivities.

Sunday, December 5, 2010

Southwest Art Magazine - December Issue

This month my "Golden Girls" are in the Southwest Art Magazine.  They are in the Dutch Art Gallery.  Stop by and see them if you are in the Dallas area.  Its in the bookstores right now.


Tuesday, November 30, 2010

American Art Collector Magazine November Issue

You'll find my work in this months issue of the American Art Collector Magazine.

Monday, November 29, 2010

Demo at the Dutch Art Gallery

Hope everyone had a great Thanksgiving.  I did.

Here are a couple of photos of the demo at the The Dutch Art Gallery that I did on November 20th.  There is a terrific show going on there now through the end of December for those of you in the Dallas area.


"Golden Trio"
20x16 oil on panel

Monday, October 4, 2010

Last week's Class

It was so gorgeous outside we couldn't resist the temptation.  So we moved everything outside for our class last wednesday.  Days like this are rare in Houston.


More Pictures for September classes

Sorry for the delay.  Here are more pictures of the still life's we painted in the September classes.


Friday, September 10, 2010

Still Lifes from last class

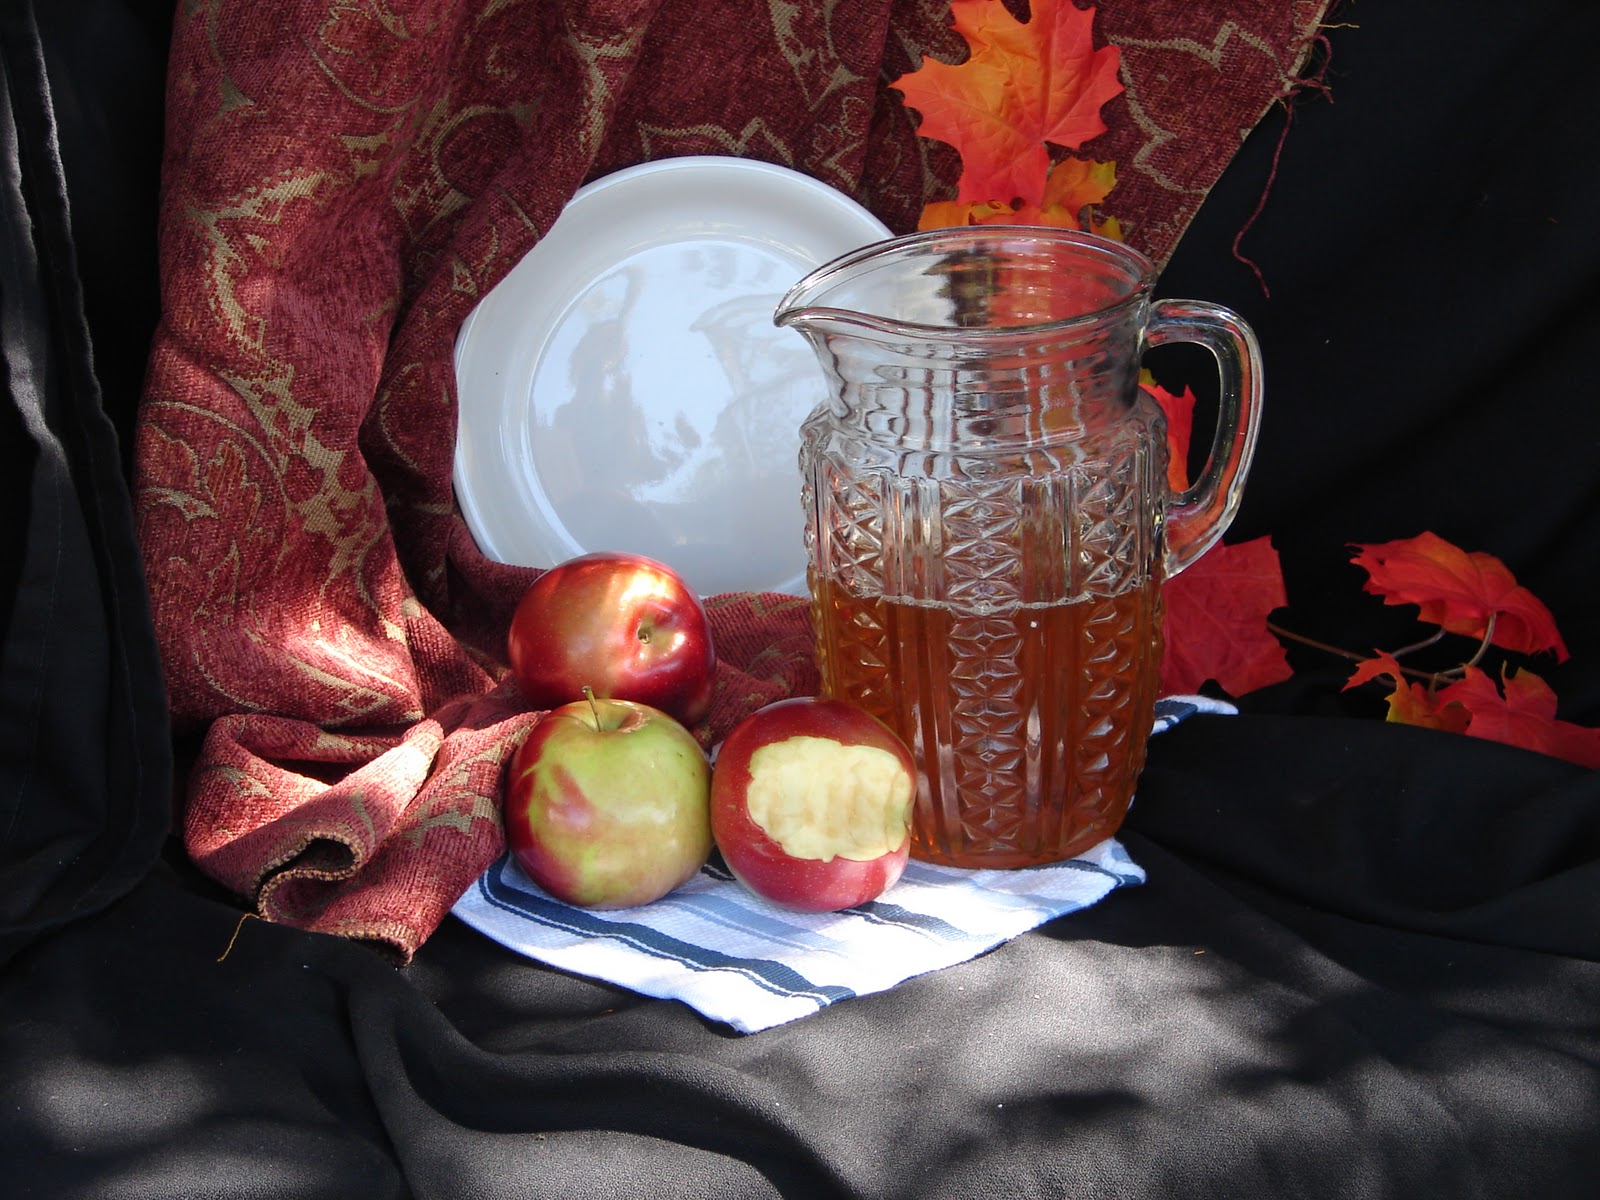
Sorry for the delay but here are the still life photos from last class.
Feel free to print them out so you can work on your paintings.

Each one is from a little different view point so each of you would have a picture from where you were sitting.


Remember where you light source is coming from when you continue to paint your still life.


Monday, July 12, 2010

This weeks focus was on clouds.

We all worked on clouds for the first class this month and hopefully you have practiced during the week.  Of course now that we are focusing on clouds all the rain clouds have gone away.  The next class we will still be doing clouds but will try to portray a dramatic sunset.  
I'm sure we'll all have lots of fun with it. 

Carmen decided it was time to pick up the brushes again after years of not painting and is so excited about it.
Rene loves her intense color palette.  Great clouds Rene!


Make sure you bring a blank canvas with you each time you come to class.
If you have any photos of some great cloud formations, by all means bring them.
See you Wednesday

Tuesday, March 16, 2010

This week you have a choice of photos.  Print out which one you would like to paint.


I know I said that I didn't want to do water and rocks on the same day, but what the heck.  Lets go for it If you want to.
If you want to still work on your painting we've been working on, go ahead and bring that too.  Also, if you have a landscape photo of your own that you would like to paint, bring that too.

See you tomorrow.

Monday, March 8, 2010

I was asked by a student to put the direction for how to make pine trees on the blog.
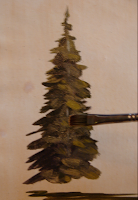
So here it goes.  Sorry for the bad quality of photos I was holding the brush with one hand and the camera in the other.


First start by establishing where the ground is then by how tall you want the tree and put in vertical marks to indicate it.
Use a mixture of Ultramarine blue yellow and purple and a little burnt sienna for the basic tree color. Turn your brush horizontally and start by making very thin horizontal strokes and get a little larger as you go down the tree.


Establish where your light source is coming from and make that side in shadow.  Then add yellow to the green mixture (not white) for the highlight side.
Turn your brush vertically and put in a few strokes for the trunk where it shows through the branches.

Go back and go over the trunk marks  so they don't stand out too much.
Here is the finished tree.

Tuesday, March 2, 2010

March 2010 Landscape Class

Are you ready for painting tomorrow?
Got all your supplies?  Something to carry them in?

For those that have not been to my classes before, it will be up stairs at Homewood Suites on Hwy 59  at high Noon.
There will be a sign for which room.  

Please print this photo out and bring it to class.  This will be our first landscape we will work on.  
If you have trouble printing this out let me know.

If you have any questions, please email or call me.

See you then!!!

Friday, February 5, 2010

Here is the progress of my painting.  Didn't get to do a whole lot.  I went ahead and posted both of my photos of the entire painting.  One came out too dark and one too light.  Something must have been set wrong on my camera.   


Bring your paintings back to class next week and we will finish them up.  Don't forget, next week is the last class.  It has gone by so fast. 

 I will also start registration next week for the Landscape class in March.  It will be every Wed. in march the time is still to be determined.  I'll se if we can get it from 12-3pm.  As it stands right now we have a 11-2pm  time slot.  Let me know if this will be a problem for you and are wanting to take the class.

Wednesday, January 27, 2010

Today we focused on painting glass.
Yes, there is a lot of fruit in this one but I made it easier with no folds in the fabric this time.


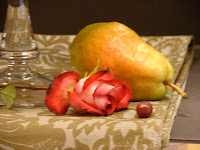
We started by blocking in where you want the top of the fruit to come on your painting then the bottom of the platter where the fruit sit, then where the bottom of the stem of the platter sits and so on.  Don't paint in the glass platter yet.  you want to place the fruit where you want it. Some of you may have more or less fruit in your painting than what was actually in the still life.  That's OK.  It all depends on the positioning and the size you sketched out your fruit to be.  So, just use these pictures as a guide for how the fruit surfaces look in color and texture not necessarily to copy the picture exactly.


I took a picture of the beads up close however, it didn't have a dark background behind them and that will cause them to look different.  I will take another picture of them with dark behind them and post them separately.

Be working on this during the week and bring it into class next Wednesday.  We will be doing more work on it to perfect our master pieces.

I will be posting the progress on mine as well.

Till next time.


Sunday, January 24, 2010

I wanted to say thank you to RayMarArt.com  for sending us the panels for our class.  Everyone has enjoyed them and they are great for transporting back and forth to classes.


Here is the still life from the last class.  Some of you wanted to attempt painting glass.  Go for it and see if you can capture the reflections of the glass and the background coming through.  What you want to do is put in the background color first and the block in where you want the top and bottom of vase to be and position of the rose.  You don't want to paint in the exact shape of the vase, only the highlights and reflections you see on it.  If you are wanting to work on this technique, let me know and I'll go over it.


What beautiful masterpieces!!!


I think Carrita is just about done with hers.
One of the hardest things to do is to know when your done with a painting.
Carrita, put down the brush and walk away from the painting.  (It's beautiful girl, frame it)


Deborah, is laying in the final details of her masterpiece.
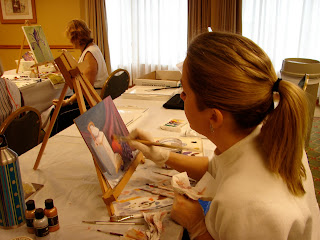

That's all for now,  more photos next post.

Monday, January 18, 2010

Here is the painting I was talking about that I felt coming on.  I wanted to do a larger version of the one we did in class and add a few other elements to the composition.

I just started it.  What I did is tone it with a gold metallic gesso.  Let it dry.
I placed the objects on my canvas. and started to block in the darks.


Next I started putting in some of the colors.  I like to start with the red of the apples to get things going.  It makes the painting exciting.


I'm going to put in the wooden plate that we used on the last painting.  Also, I'm going to change the grapes to green.  I think it would complement the red apples better.  In the next photo, I have put in the design of the teapot and all of the gold areas that you see is what I "scratched" out.  Since the under painting of the canvas was gold.  I took a bamboo stick and rub out tool ( I'll show you in the next class) and scratched out the areas of the metal handle, the edges of the teapot trimmed in gold and I added leaves and vines so I scratched out them too.  This gives it a little different look to it.  But I'm not finished.


Here are some close ups


Here is where I left off.  I'm going to go back where I "scratched" out and put a glaze(with liquin) on some of the areas and make the vines and leaves more like vines and leaves.  But you have to to the scratching out on the first session while its wet. I also went ahead and signed it by scratching out even though I'm not done with it yet.


I didn't put in the fabric background this time. I may still put it in, not sure.  I'm kind of liking the whimsical swirls of the vines and leaves though.  I just might leave them alone.  We'll see.